Our second baby is on the way, and we’ve been working on putting the room together. All this sketching reminds me of 3 years ago when we did the same for Logan’s room…
In the last three years we’ve had a lot of people ask how we did it, and a few have asked us to do their rooms. We are not really artistically inclined, so I think it surprises people how nice the room looks. Here’s few tips on how to make it look right.
1) Light Colored Chalk
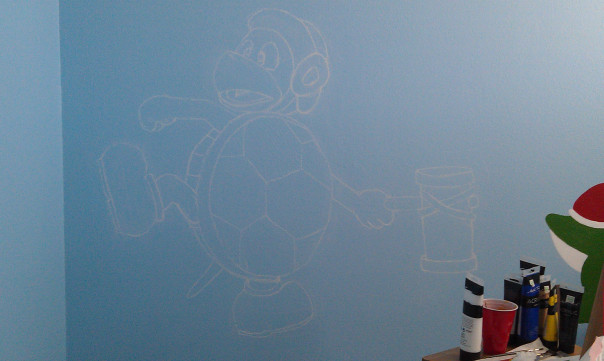
Chalk is *way* better than pencil. It is easy to erase, which is very important when your painting shouldn’t show lines. It will mix in with your paint, which makes it easy to paint right over it. And last of all the thick lines allow seeing big objects really well.
2) Use a Template
Unless you are an amazing artist, try to find a similar object to what you are trying to draw. You don’t have to follow it exactly, but it will do wonders in helping notice the little nuances of your painting.
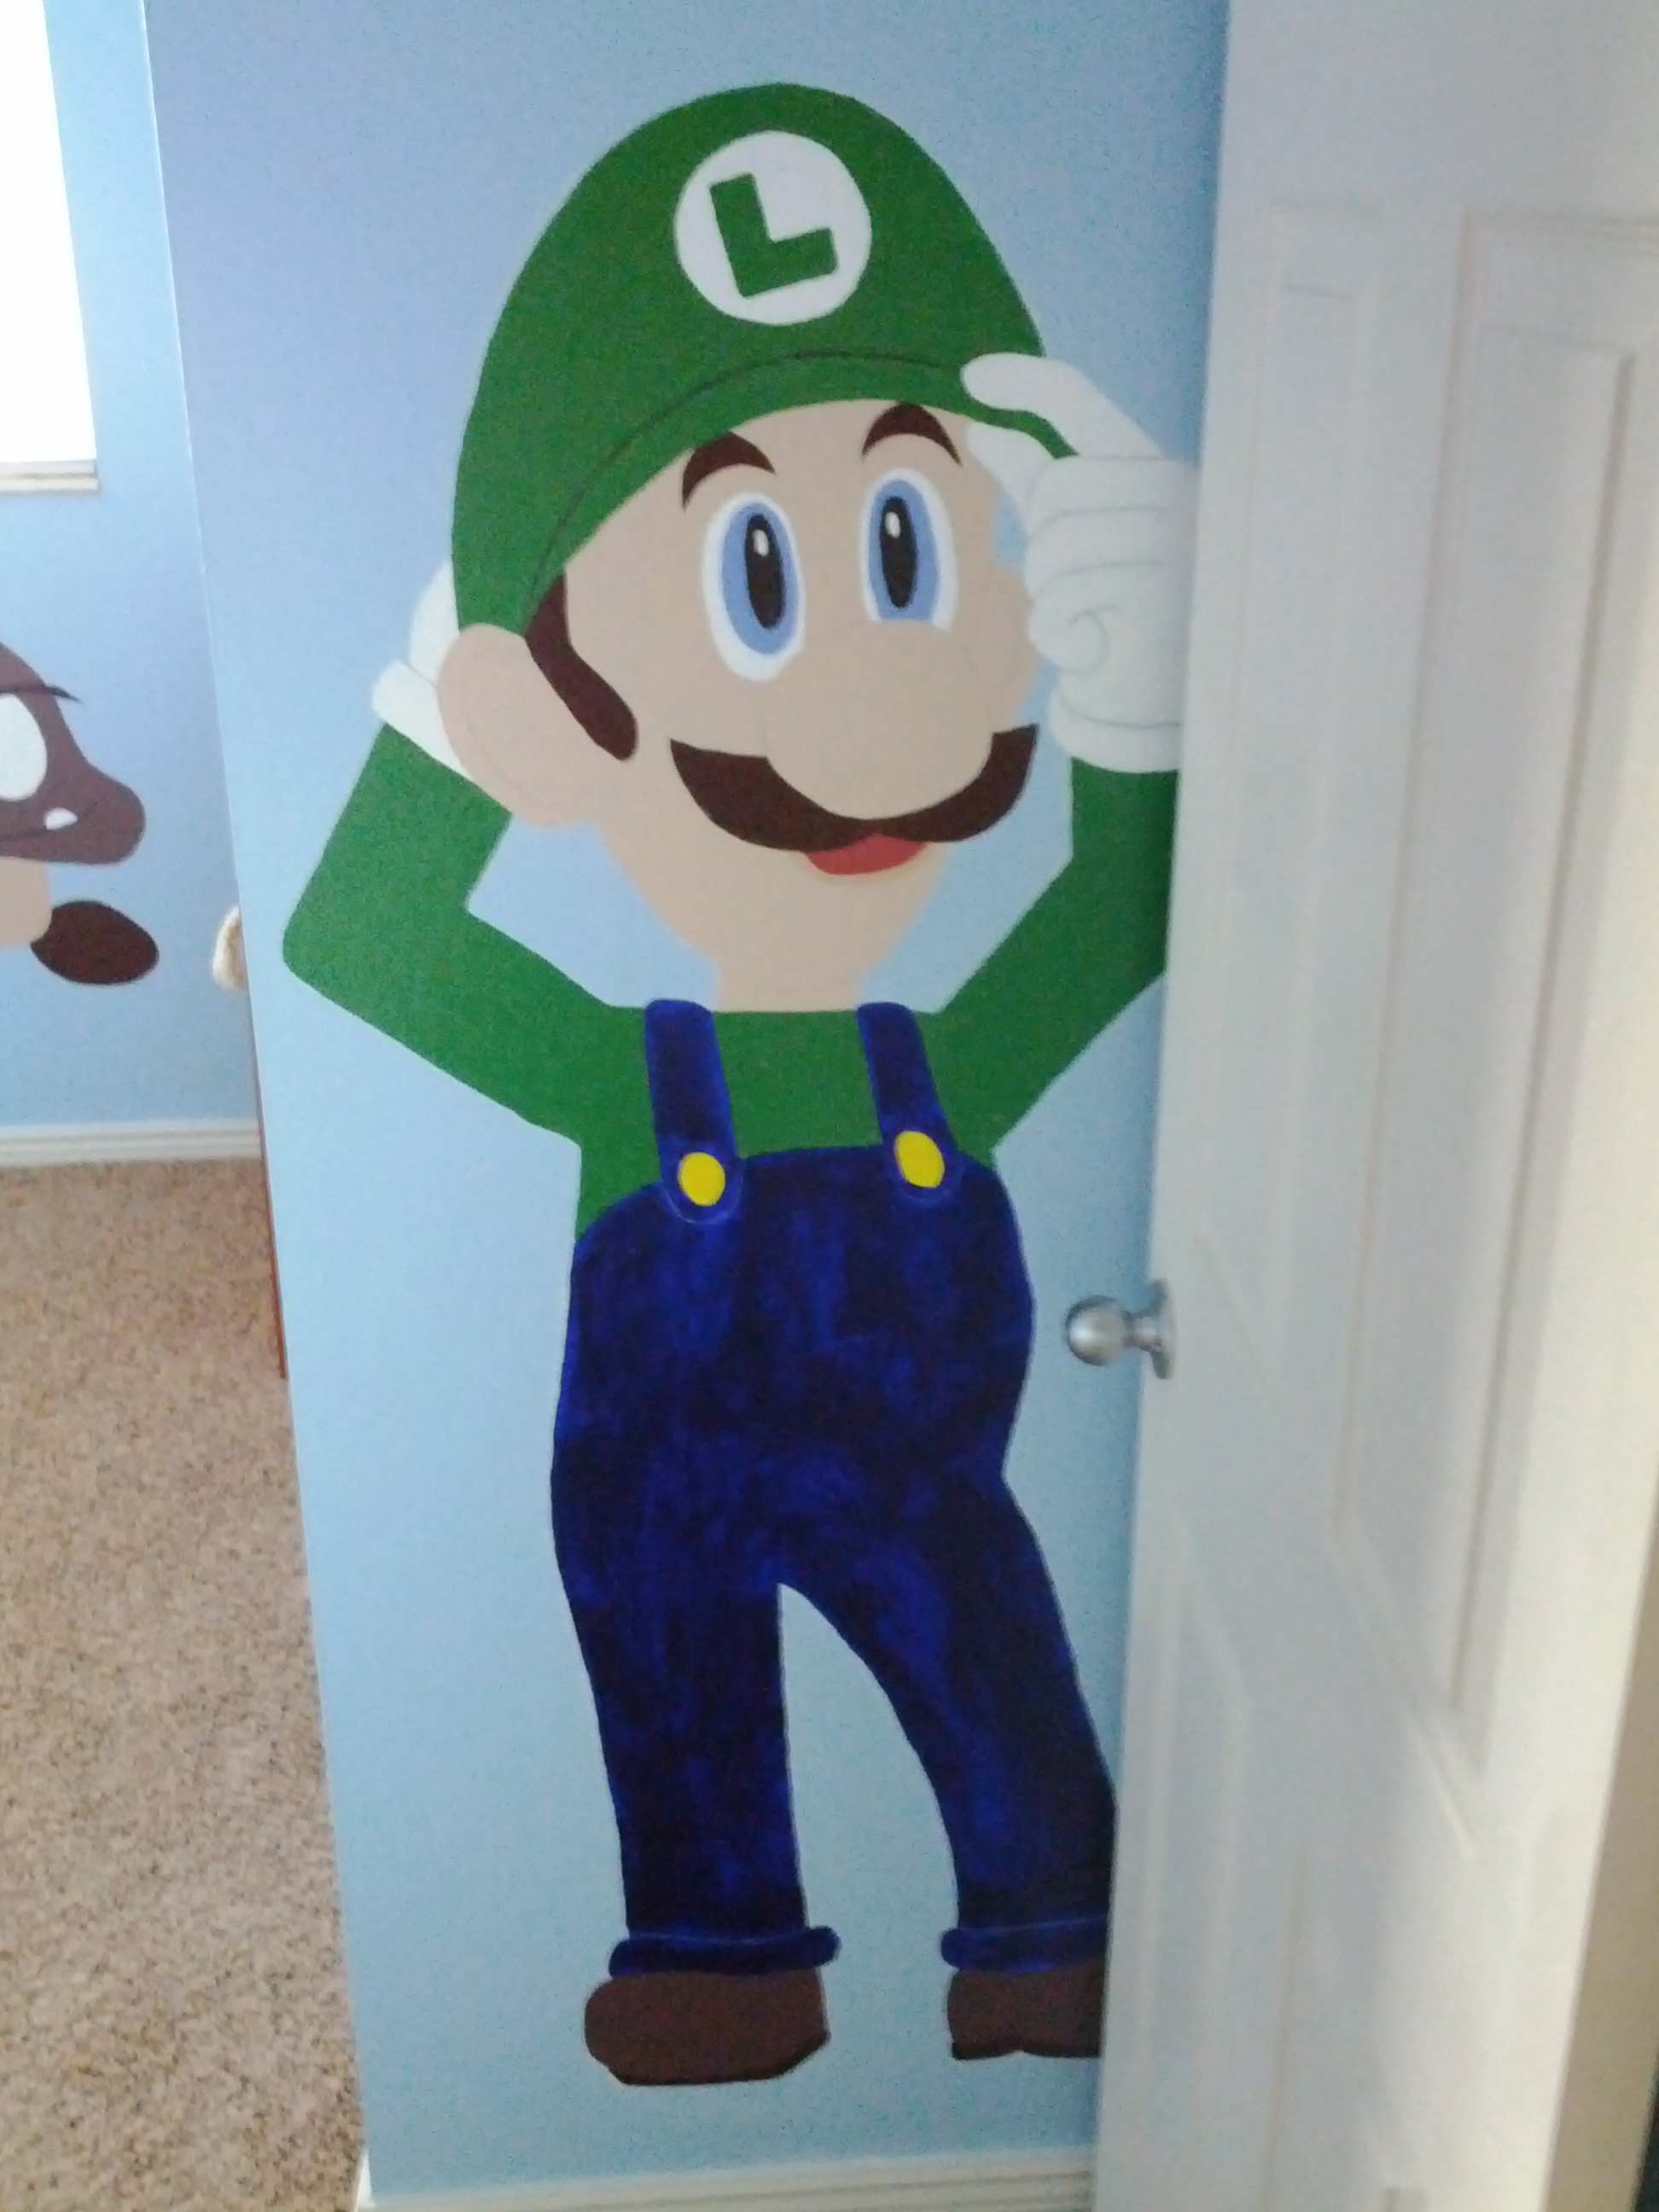

But remember, a template does not mean you have to copy it exactly. You’ll see from the above Luigi pictures that we wanted a flatter, simpler look. When comparing them side by side our image of Luigi doesn’t look nearly as impressive. But when standing by itself nobody notices the least bit.
When we were drawing the goomba the final result always came out so scary. This was a child’s room, so that didn’t sit well with us. After fixing it 2 or 3 times we finally realized a smile would look much better than the grumpy goomba frown. Don’t be afraid to take similar liberties.

3) Iterate Over and Over
It turns out you don’t need to be a great artist, you just need to be a stubborn perfectionist. We don’t paint very fast, in fact the #1 reason we haven’t said yes is because we just imagine the countless number of hours we would spend in their house, bothering them and getting in their way.

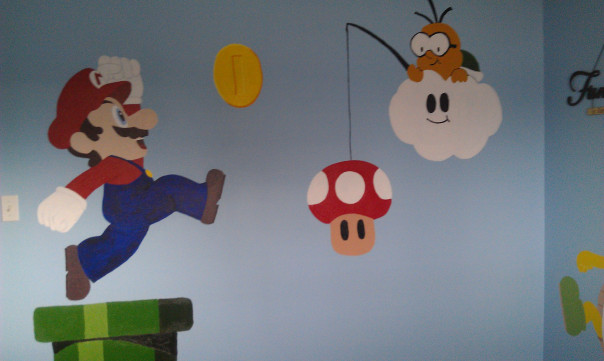
But it is completely fine to make mistakes. We have a simple policy: “Sit on every drawing at least one day before painting it in.” When we first drew Mario we loved how he looked, but something just felt off. After a night we realized one of his arms was *way* too long. We made some edits, waited another day, and finally were happy with the results.
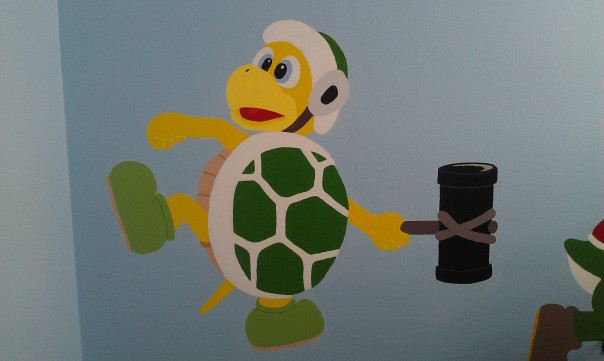
4) Be Careful with Black
While most cartoons have a heavy amount of black lines, we found they just didn’t look good on the walls. But we found that we couldn’t just drop them completely. Instead, Sarah simply lightened or darkened the current color to give the effect of lines.
5) White Out Where Needed
We were painting on a fairly dark blue wall. At first we just painted straight on the wall, but it made it hard to get the colors right. Instead we learned that for lighter colors it was really important to put down a layer of white first. This did wonders to make sure the color was the exact color that we mixed.

Bonus: Don’t be Colorblind
Not that you have control over this… But seriously, I’m super lucky I have a wife who could mix colors. My first attempt at Mario’s Green Pipe turned out to be an ugly brown mess (or at least so I’m told). From that point on Sarah was our designated “painter of all things”.
